Wheel Nut Torque: Your Guide to Proper Tightening

Ever wondered about that crucial twist when changing a tire? We're diving deep into the world of wheel nut torque – the precise rotational force applied to secure your wheels. This seemingly simple act is a critical element of vehicle safety, impacting everything from smooth rides to preventing catastrophic wheel detachment.
Proper wheel nut tightening, often overlooked, is a cornerstone of road safety. Incorrect torque can lead to a cascade of problems, from warped rotors to sheared studs. Understanding the correct specifications for your vehicle, and how to apply them, is essential for every driver.
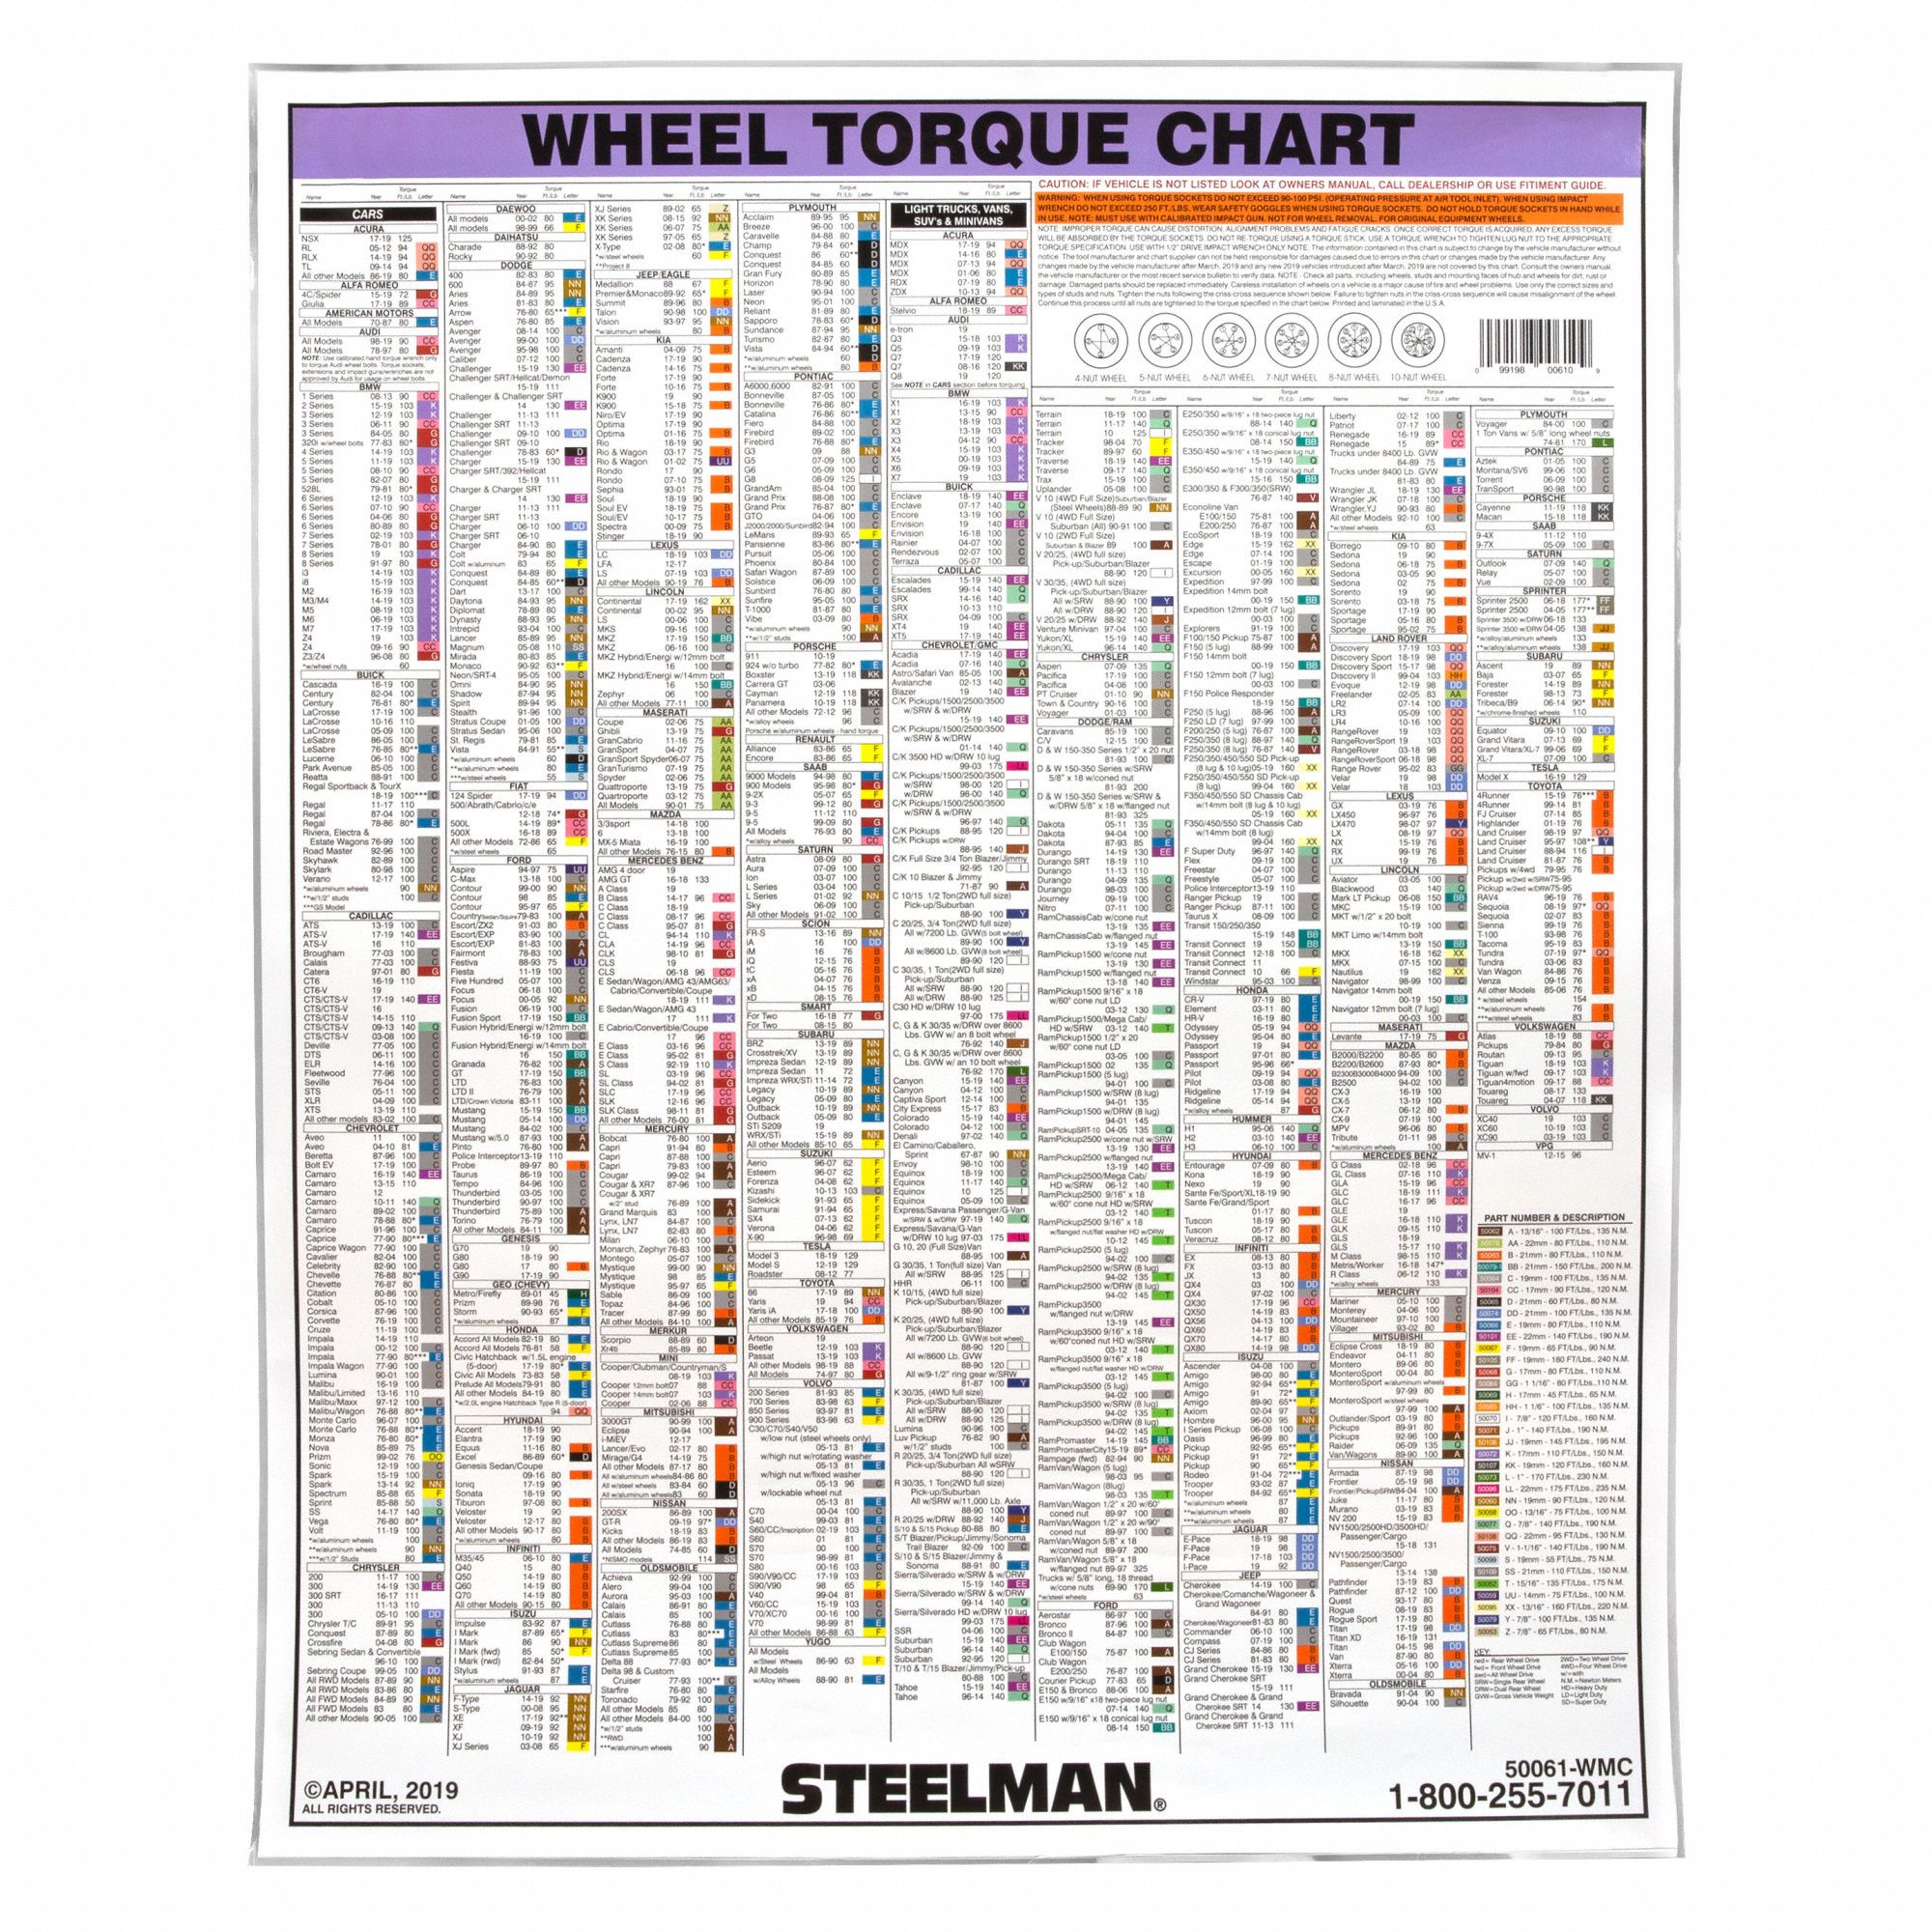
Determining the right wheel nut torque for your vehicle isn't a guessing game. Manufacturers provide specific torque values, tailored to the make and model of your car. This information is usually found in your owner's manual or sometimes on a sticker inside the driver's side doorjamb. Ignoring these specifications can have serious consequences.
Historically, wheel nut tightening was often a matter of "feel," leaving room for error. The advent of torque wrenches brought precision to the process, allowing for accurate application of force. This evolution has dramatically improved wheel safety, minimizing the risks associated with over- or under-tightening.
Why is correct wheel nut torque so vital? Over-tightening can strip threads, damage wheel studs, and even warp brake rotors. Under-tightening, on the other hand, can allow wheels to loosen during driving, leading to potential detachment and a serious accident. The correct torque ensures a secure connection without stressing components.
Wheel nut torque is measured in foot-pounds (ft-lbs) or Newton-meters (Nm). It represents the rotational force applied to the nut. For example, a torque specification of 100 ft-lbs means 100 pounds of force applied to a one-foot lever. Using a calibrated torque wrench is crucial for achieving this precise measurement.
Benefits of correct wheel nut torque: 1. Enhanced Safety: Properly torqued wheels minimize the risk of detachment. 2. Prevents Damage: Avoids stripped threads, damaged studs, and warped rotors. 3. Improved Handling: Ensures even pressure distribution, contributing to optimal vehicle handling.
Action Plan: 1. Consult your owner's manual for the correct torque specification. 2. Acquire a calibrated torque wrench. 3. Follow the tightening sequence recommended by the manufacturer (often a star pattern). 4. Re-torque after a certain mileage (usually 50-100 miles).
Checklist: Correct torque specification identified. Calibrated torque wrench available. Tightening sequence understood. Re-torque scheduled.
Step-by-step guide: 1. Locate the correct torque specification. 2. Set the torque wrench to the specified value. 3. Tighten the nuts in the recommended sequence. 4. Re-torque after the specified mileage.
Advantages and Disadvantages of Using a Torque Wrench
| Advantages | Disadvantages |
|---|---|
| Accurate torque application | Initial cost of the wrench |
| Prevents over-tightening and under-tightening | Requires proper storage and calibration |
Best Practices: 1. Use a calibrated torque wrench. 2. Follow the recommended tightening sequence. 3. Re-torque after a short distance. 4. Clean the threads before tightening. 5. Inspect the studs for damage.
Examples: Many car manufacturers recommend torque settings between 80-120 ft-lbs for passenger cars, but it's crucial to check your specific vehicle's requirements. Trucks and SUVs often have higher torque specifications.
Challenges & Solutions: 1. Inaccessible nuts - use extensions. 2. Rounded nuts - use a specialized socket. 3. Lost torque specs - consult a dealer or online resources. 4. Damaged studs - replace immediately. 5. Improperly calibrated wrench - get it recalibrated.
FAQ: 1. What is torque? Rotational force. 2. Why is it important? Safety and prevents damage. 3. Where do I find the specifications? Owner's manual. 4. What tool do I need? Torque wrench. 5. How often should I re-torque? After 50-100 miles. 6. What is the tightening sequence? Often a star pattern. 7. What if I over-tighten? May damage studs or rotors. 8. What if I under-tighten? Wheel may loosen.
Tips & Tricks: Lubricate the studs lightly. Clean the mating surfaces. Double-check the torque after the initial tightening. Store your torque wrench properly.
In conclusion, understanding and applying the correct wheel nut torque is a fundamental aspect of car maintenance and safety. From preventing catastrophic wheel detachment to preserving the integrity of your vehicle's components, this seemingly small detail plays a significant role. By following the guidelines outlined here – consulting your owner's manual, using a calibrated torque wrench, and adhering to best practices – you can ensure secure and properly tightened wheels, contributing to a safer and smoother driving experience. Take the time to familiarize yourself with your car's specific requirements, and make proper wheel nut tightening a regular part of your maintenance routine. This proactive approach will not only protect your investment but also contribute to peace of mind on the road, ensuring a confident and worry-free journey every time you get behind the wheel.
Unveiling the wiccan book of shadows
Deciphering nfl week 2 predictions
Elevate your workspace with stunning dual monitor 4k wallpapers


